Build Dashboards with Data from API
Learn how to pull data from external APIs into Supabase using Edge Functions and build powerful dashboards with tools like Draxlr.

External APIs often hold valuable data—from analytics to transactions to user behavior. But using it effectively often means pulling it into your own database, where you can visualize and analyze it at scale.
In this guide, we'll show how to fetch data from a public API and store it in your own database using Supabase Edge Functions. From there, you’ll be able to build dashboards, trigger alerts, and unlock real insights.
To keep things simple, we’ll use the free and fake API JSONPlaceholder and store the data in a posts table inside Supabase.
Why Supabase?
Supabase is a great backend-as-a-service that combines a PostgreSQL database with serverless edge functions, real-time subscriptions, and a slick dashboard. It’s a powerful option if you’re looking to build quickly without managing infrastructure.
In this example, we’ll use Supabase’s Edge Functions to pull in external data and store it directly in the database.
What You’ll Learn?
- How to set up Supabase Edge Functions
- How to fetch data from an external API
- How to insert that data into your Supabase database
- How to prepare your data for dashboards
Prerequisites
- A Supabase project
- Node.js and Supabase CLI installed
- Basic familiarity with JavaScript / TypeScript
Step 1: Set Up Your Supabase Project
If you don’t already have a Supabase project, create one at supabase.com.
Install the Supabase CLI:
npm install -g supabase
Initialize Supabase in your project folder:
supabase init
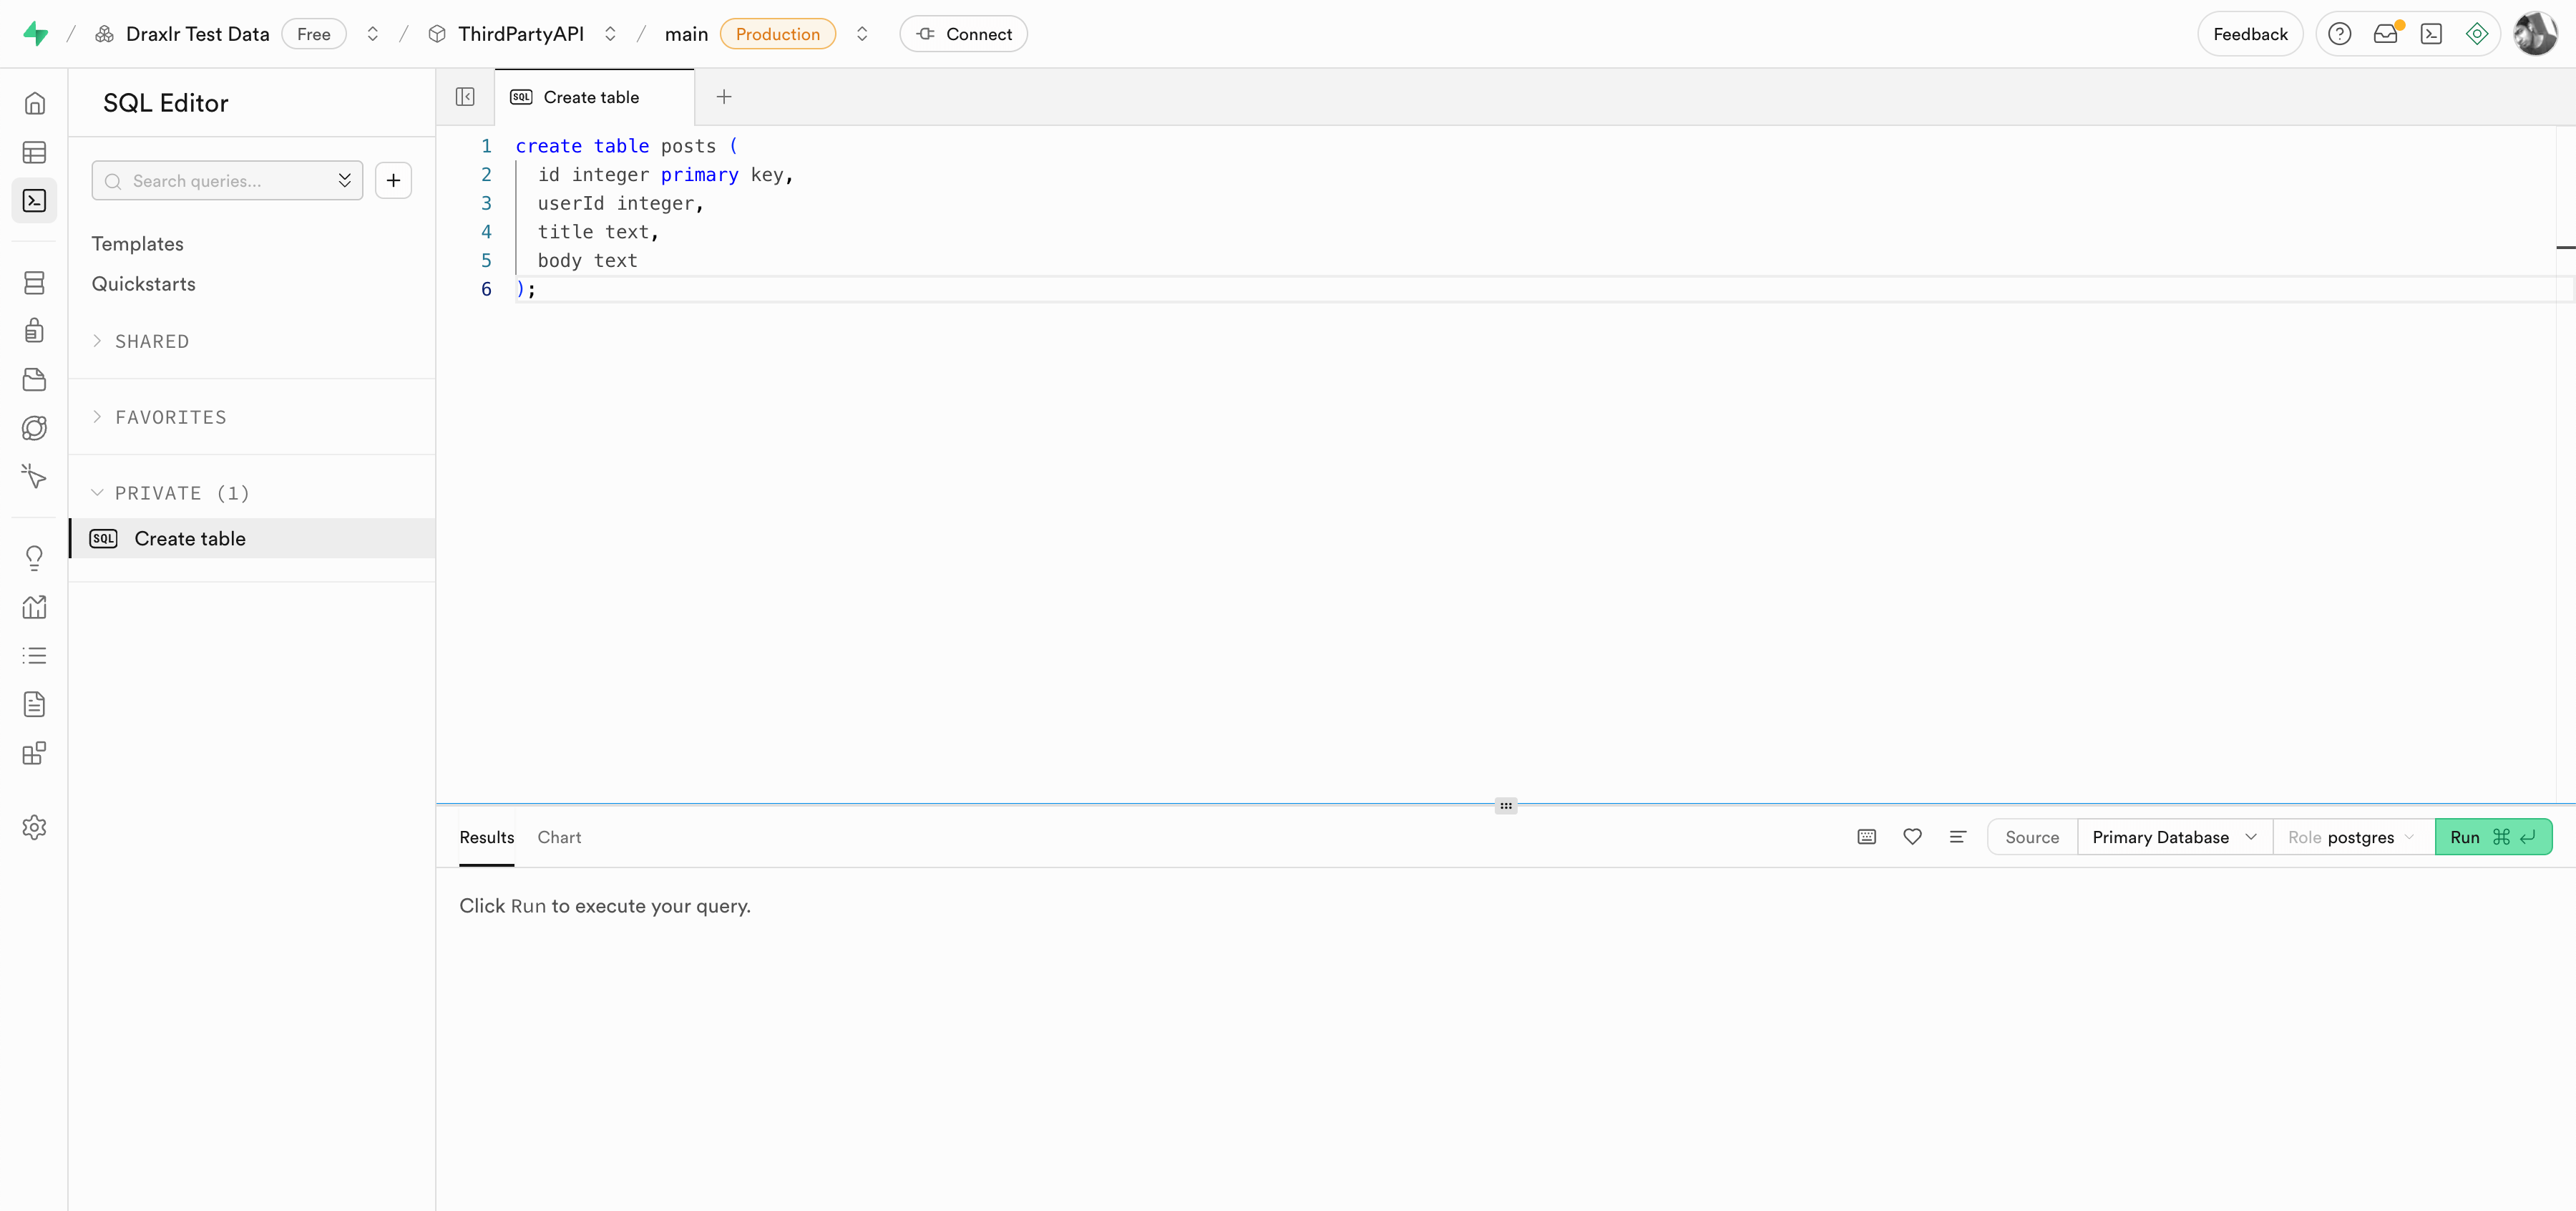
Step 2: Create a Table in Supabase
Go to the SQL Editor in Supabase and run this SQL to create a posts table:
create table posts (
  id integer primary key,
  userId integer,
  title text,
  body text
);
Step 3: Create a Supabase Edge Function
In your project directory:
supabase functions new fetch-posts
Replace the content of supabase/functions/fetch-posts/index.ts with the following:
import { serve } from "https://deno.land/std/http/server.ts"

serve(async () => {
  const res = await fetch("https://jsonplaceholder.typicode.com/posts")
  const posts = await res.json()

  const supabaseUrl = Deno.env.get("SUPABASE_URL")!
  const supabaseKey = Deno.env.get("SUPABASE_SERVICE_ROLE_KEY")!

  const insertRes = await fetch(`${supabaseUrl}/rest/v1/posts`, {
    method: "POST",
    headers: {
      "Content-Type": "application/json",
      apikey: supabaseKey,
      Authorization: `Bearer ${supabaseKey}`,
      Prefer: "resolution=merge-duplicates",
    },
    body: JSON.stringify(posts),
  })

  const responseText = await insertRes.text()

  return new Response(
    JSON.stringify({
      message: "Inserted posts",
      status: insertRes.status,
      body: responseText,
    }),
    {
      headers: { "Content-Type": "application/json" },
      status: insertRes.status,
    }
  )
})
Step 4: Add Environment Variables
In your .env file:
SUPABASE_URL=https://your-project.supabase.co
SUPABASE_SERVICE_ROLE_KEY=your-service-role-key
Step 5: Deploy and Run the Function
supabase functions deploy fetch-posts
To call it via HTTP after deployment:
curl -X POST https://<project-ref>.functions.supabase.co/fetch-posts \
  -H "Authorization: Bearer <service-role-key>" \
  -H "Content-Type: application/json"
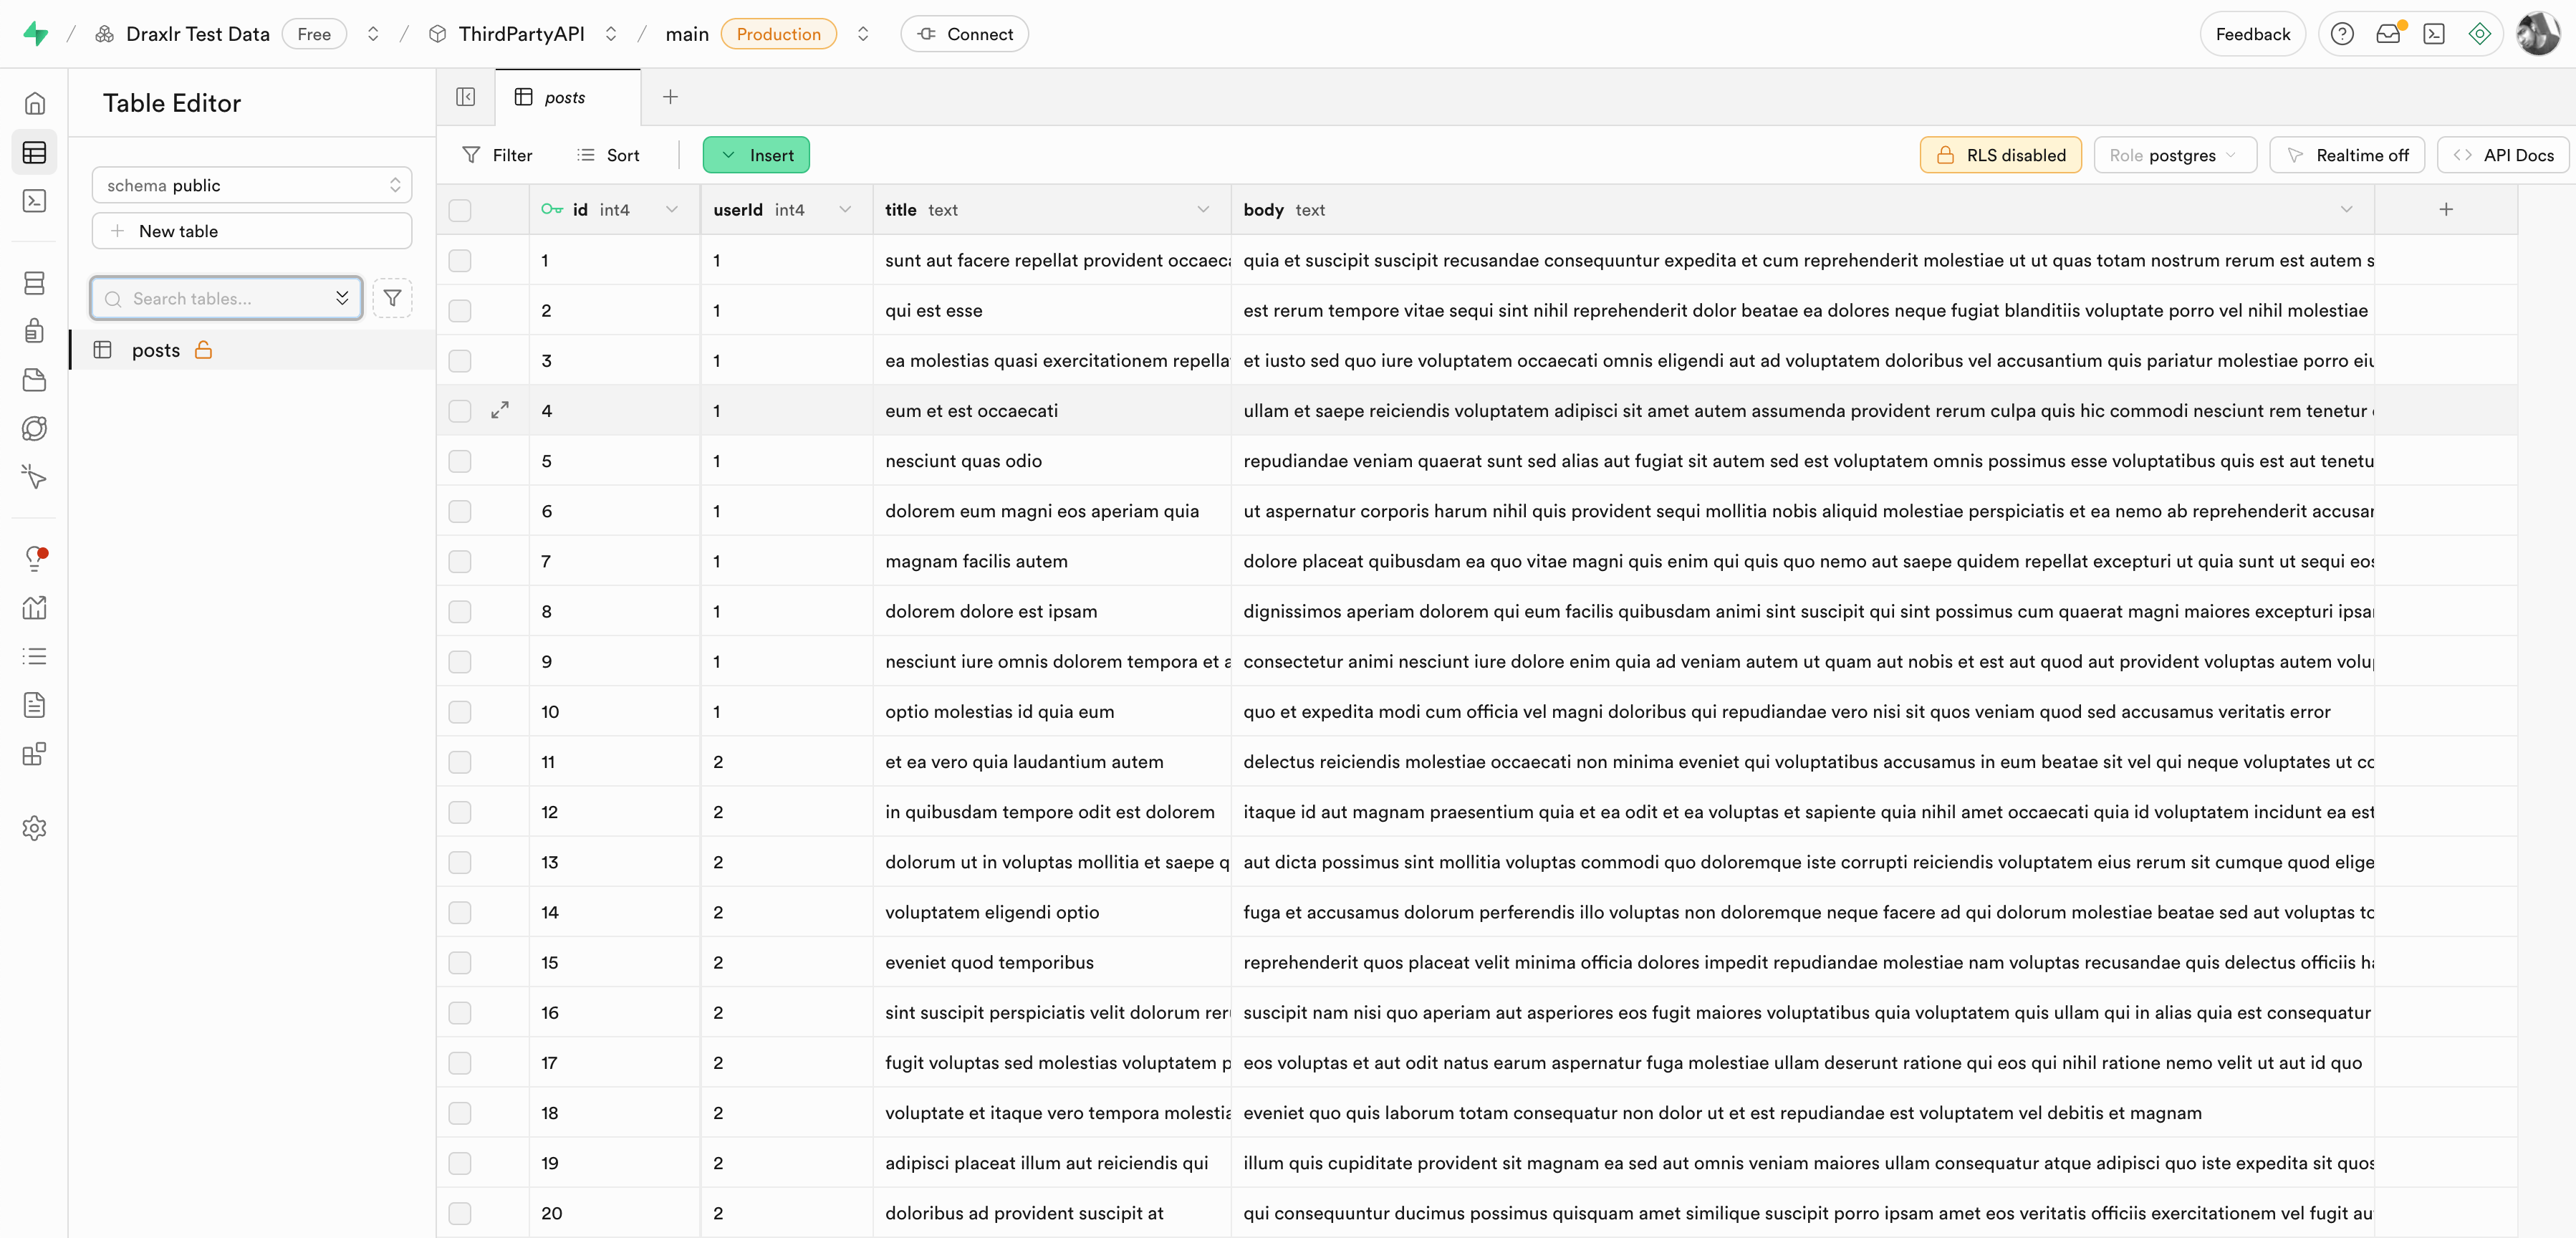
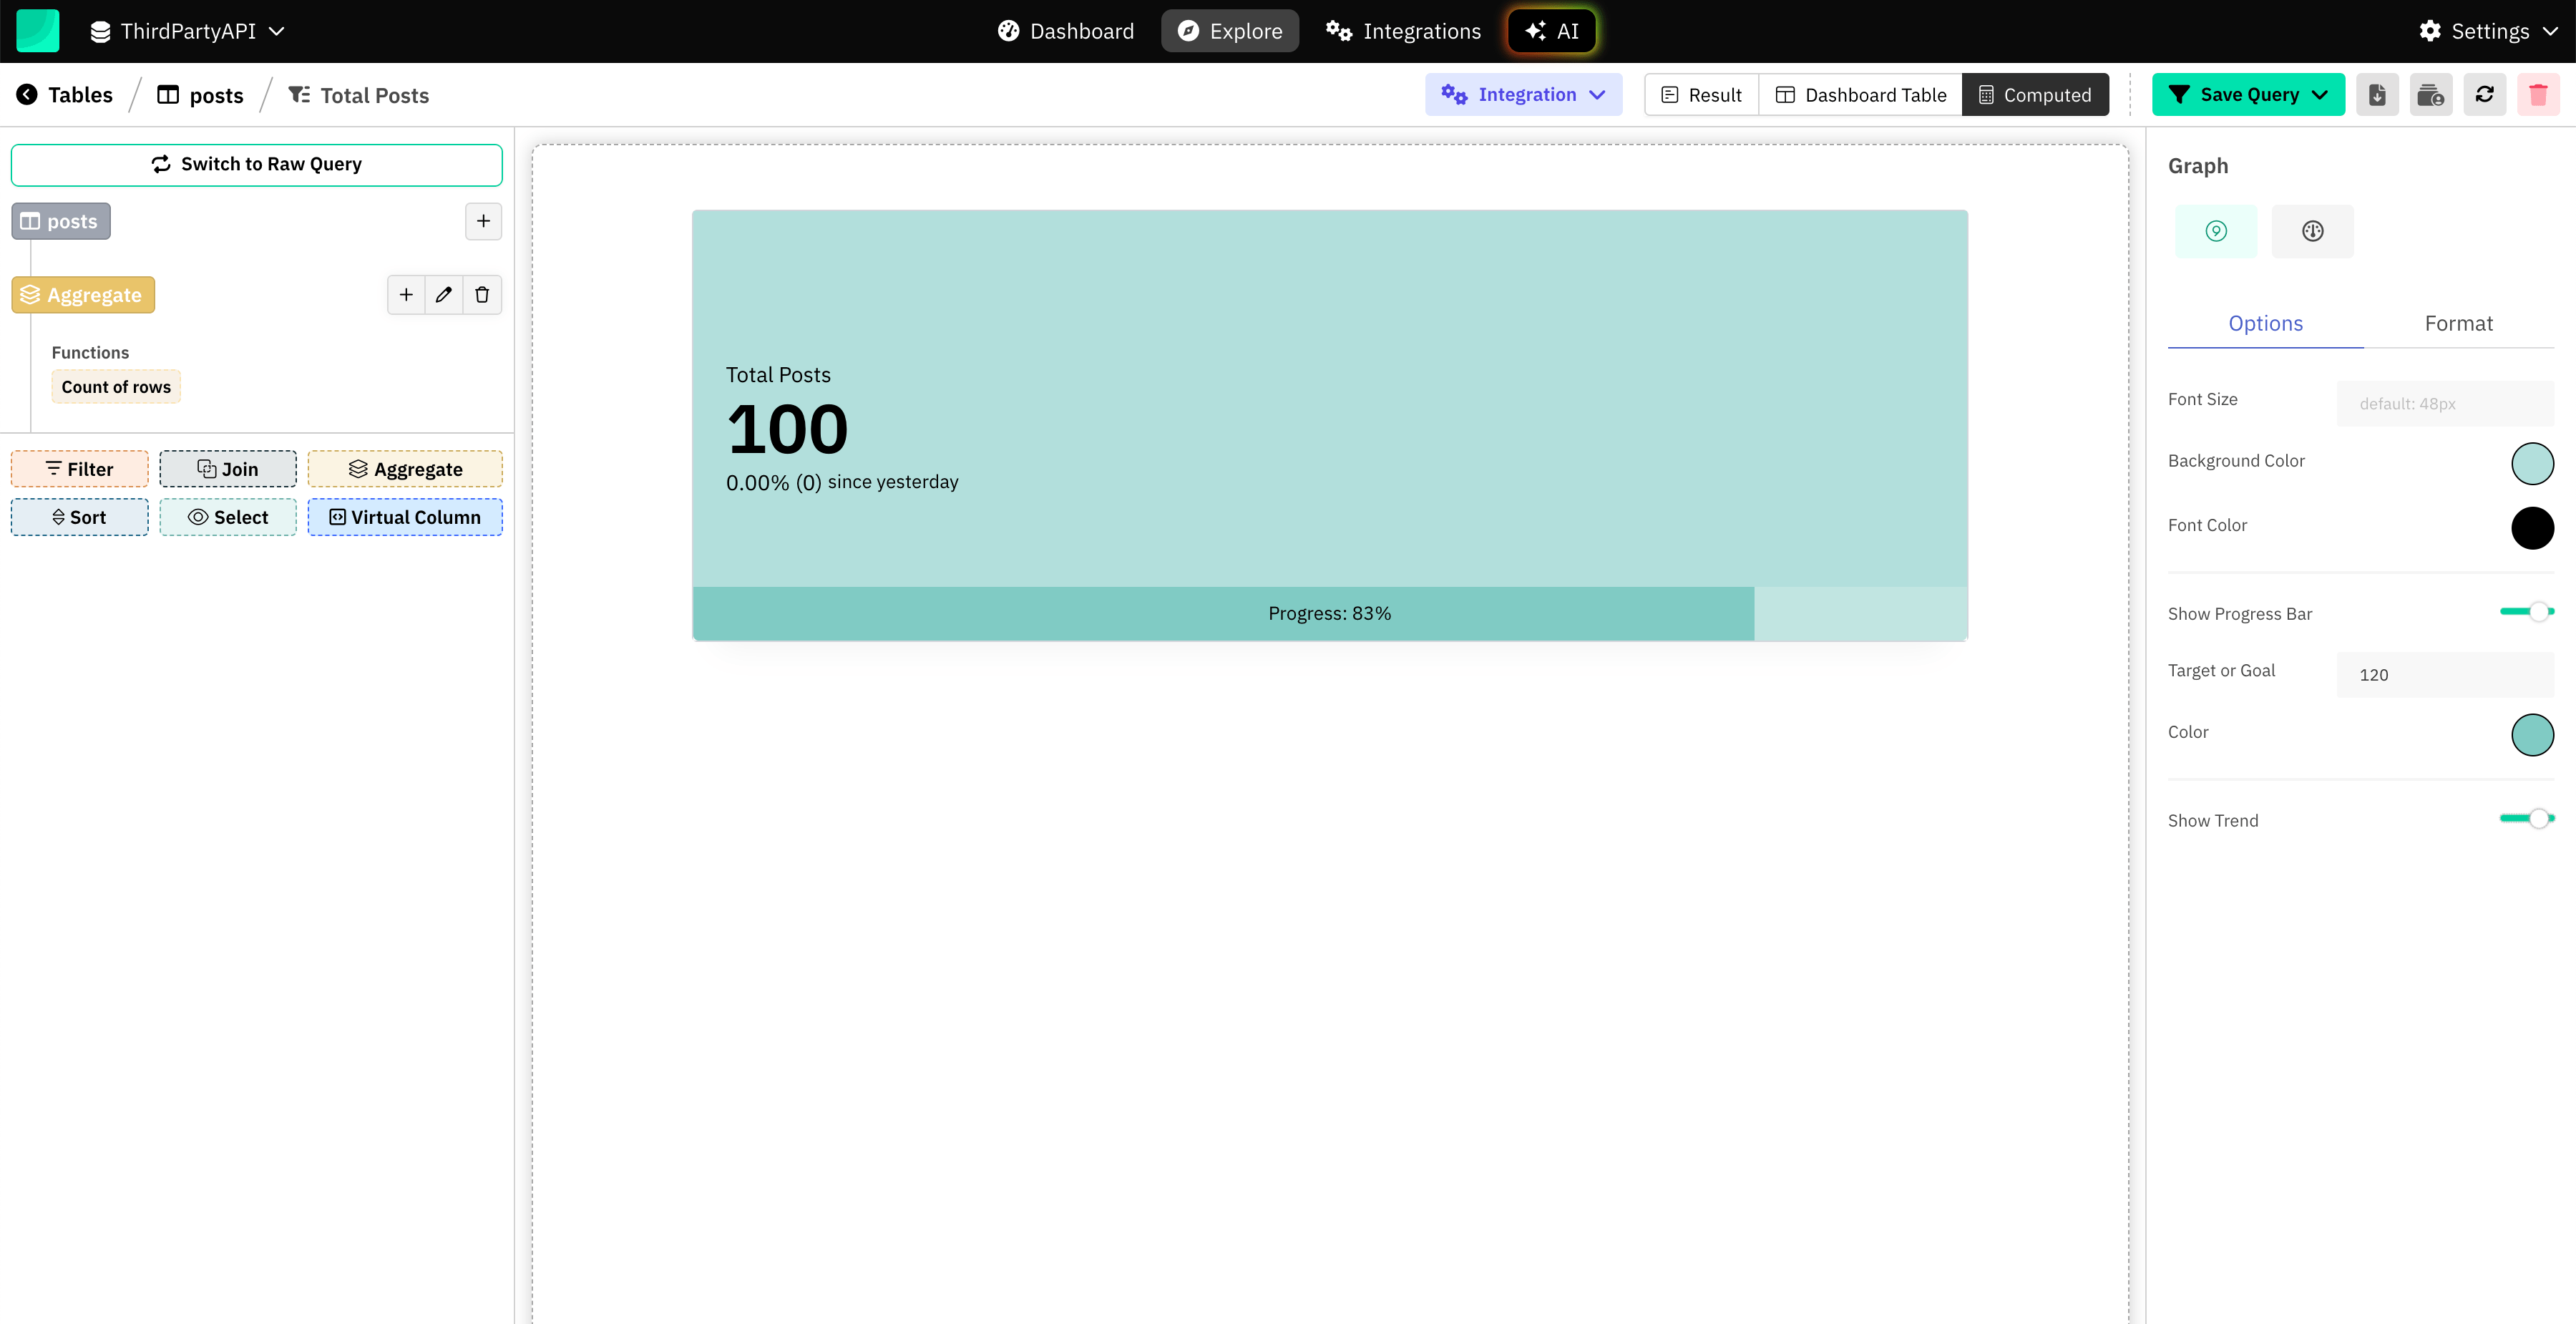
Step 6: Build Dashboards
Once data is in Supabase, visualize it using Draxlr.
Example: Total Posts
Alternative: Use Draxlr for ETL
While Supabase Edge Functions work well for basic syncing, complex integrations may require more scalable solutions.
Draxlr provides a fully managed ETL and dashboarding service, helping teams automate data pulls and build dashboards without code.